


What is PNP?
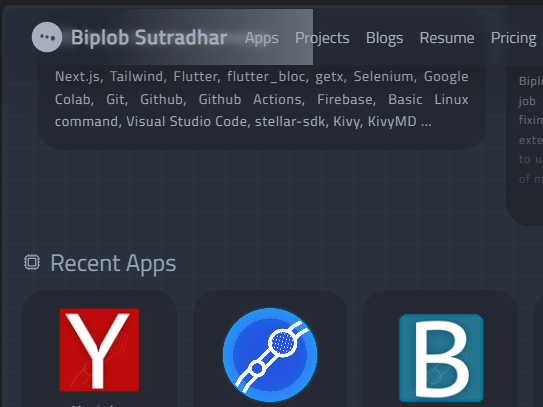
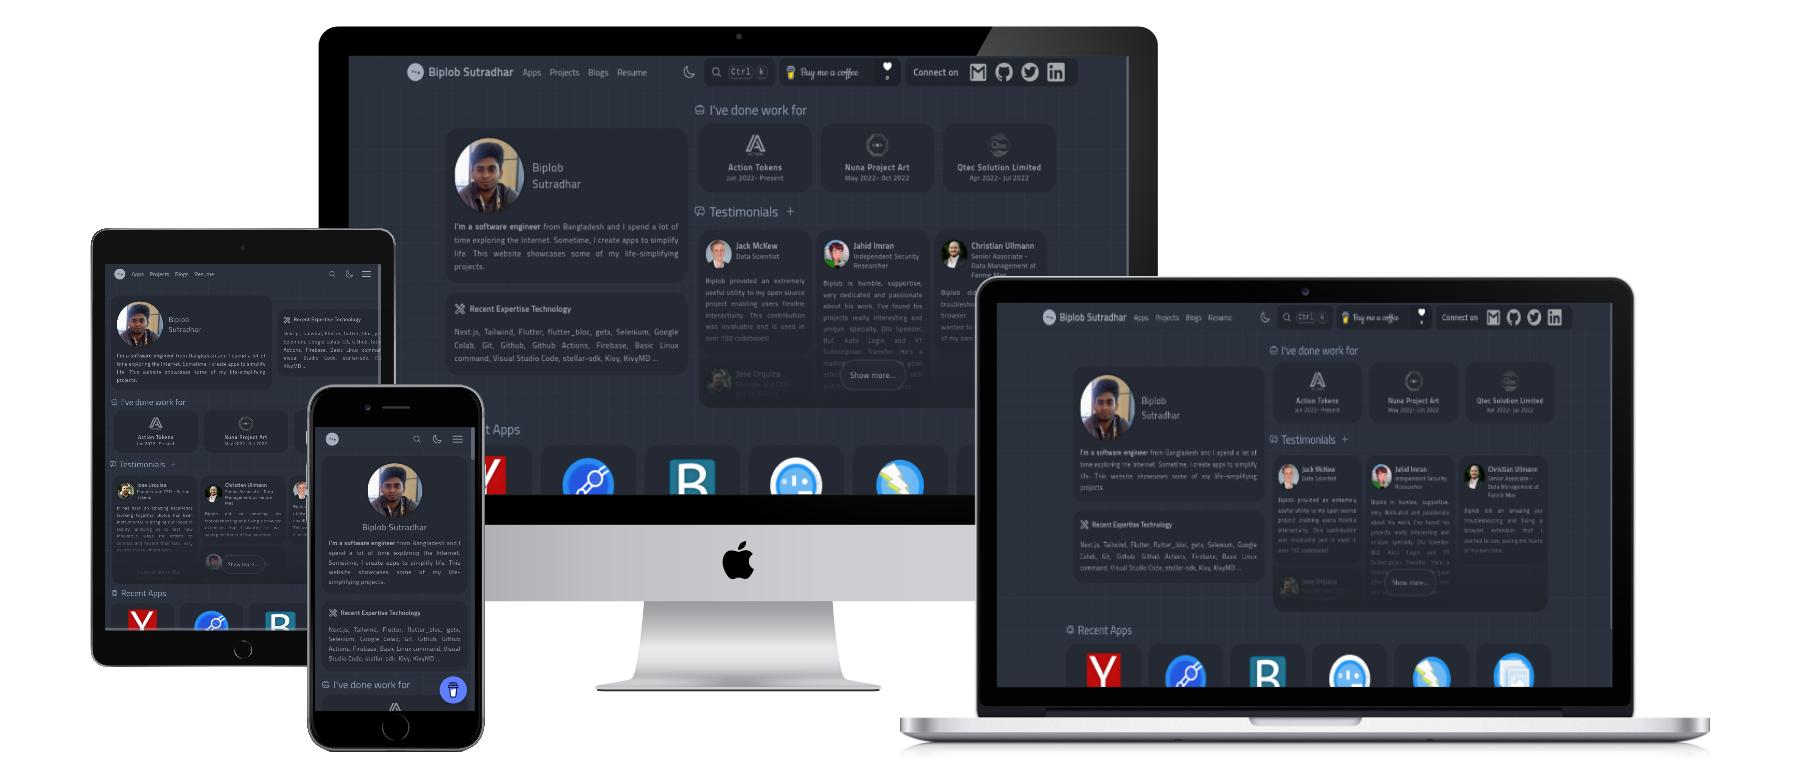
PNP, or Portfolio NextJs Project, is a portfolio website built using the NextJS framework. It is a static website that can be hosted on any static web hosting platform. PNP is a completely free and open-source project. It helps you showcase your skills and services. If anyone wants to know about your business or your personality, this type of website will boost you to the level you need.
Getting Started
This guide shows you how to set up PNP on your GitHub account.
What do you need?
- GitHub account
- Google Maps API key
- Algolia for search API
- Giscus
- Buy Me a Coffee
- Domain (Optional) [GitHub Pages provides free .github.io domains]
GitHub Account
Why do we need a GitHub account? GitHub Pages hosting is completely free. We use GitHub Pages to host the PNP website. GitHub Pages also provides SSL for free. How to create a GitHub account? You can simply go to https://github.com/join and follow their instructions to create a GitHub account.
Google Maps API Key
On the PNP contact page, we embed a Google Map to show your location on Earth. To do this, we need a Google Maps API key. You can follow the instructions provided by Google Maps in their documentation under the "Create API Keys" section -> https://developers.google.com/maps/documentation/embed/get-api-key#create-api-keys
Algolia
Since PNP is a static site, it is not possible to have a search feature on the page without a server. The search feature in PNP is built using Algolia, which is a hosted search engine. To integrate Algolia, you will need an Algolia account. Please visit https://www.algolia.com/dashboard and create an Algolia account and application. After that, collect the following information: Application ID, Search-Only API Key, and Admin API Key.
Next, create five indexes under your application:
testimonialscompanyblogsappsprojects
Once you have successfully set up all the content, you will need to search the table field in the Algolia console.
Giscus
Giscus is a comments system powered by GitHub Discussions. To set up Giscus, go to https://giscus.app/ and set it up for your repository. After that, take note of the REPO_ID, CATEGORY, and CATEGORY_ID.
Buy Me a Coffee
"Buy me a coffee" is a support system. Go to https://www.buymeacoffee.com/ and create an account. Then collect your username.
Domain (Optional)
Register a domain from any domain registrar platform, such as Google Domains, Namecheap, GoDaddy, etc.
Once you have completed these primary setups, you will be able to proceed to the next step.
Setup
Now set up PNP data in your GitHub account. To do this, follow the section below:
Fork the pnp-data Repository
The source code for the PNP site is located at SpeedOut-Source/pnp, while the data part is in SpeedOut-Source/pnp-data. If you want to change any content on the PNP site, update the pnp-data repository.
To fork the pnp-data repository, go to https://github.com/SpeedOut-Source/pnp-data and click the Fork button in the top-right corner. Set the Repository name to your GitHub username.github.io. For example, if your GitHub username is abcd, your repository name would be abcd.github.io. Click on Create fork and wait for a few moments for a copy of the pnp-data repository to be created under your GitHub account.
Update Repository Secret Variables
Go to the repository's settings, navigate to Security > Actions, and under Repository secrets, create a new repository secret. Set the name as ALGOLIA_SEARCH_ADMIN_KEY, and the secret value should be your Algolia Admin API Key.
Update Workflow Permissions
In the repository settings, go to Actions > General. On the page, navigate to the Workflow permissions section and toggle the switch to enable Read and write permissions.
Changing .env.local
The .env.local file contains the environment variables for the PNP site, including site configuration. Update each variable according to your information. For example:
NEXT_PUBLIC_PERSON_NAME: Your full name, which will be displayed in the header and footer.NEXT_PUBLIC_BASE_URL: Your username.github.io or your domain name. Once you have made these changes, your PNP site will be live at your<username>.github.io. Now you need to configure and set up your data.
Setup your Data
Explore each file and folder where you need to make updates. Change the necessary values while keeping in mind not to change any keys, only update the values. Here are the files that need to be updated:
Update configs.json
Update all values except baseUrl and baseImgPath.
Update home/bio.json
Update your name, profession, and text: information about yourself.
Update home/expertise.json
Update your areas of expertise in technology.
Update home/testimonials.json
Place your testimonials in the testis section.
apps, company, projects, blogs directories
In these directories, you can create markdown (.md) files to update your site. A demo .md file is already provided in the folder to give you an idea of how to create a .md file.
images directory
Place all the images you need for blogs, projects, and company posts in this directory.
Note: The compileData.py script will automatically replace ./images/<fileName> when run on the GitHub Actions workflow.
Update privacy-policy.md
This file, located at the root path, contains your privacy policy. Change or update it according to your policy.
meta_tags.txt
This file contains meta tags for the head section of your HTML. If you need to set specific meta tags for each page in the head section, place them in this file. This is particularly useful when other sites need to verify that PNP is your site.
public directory
If you place any files in this directory, they will be accessible at your <username>.github.io/<your_filename>.
Please comment in the section below if you do not understand any of the sections. Alternatively, you can join us on the Telegram group.